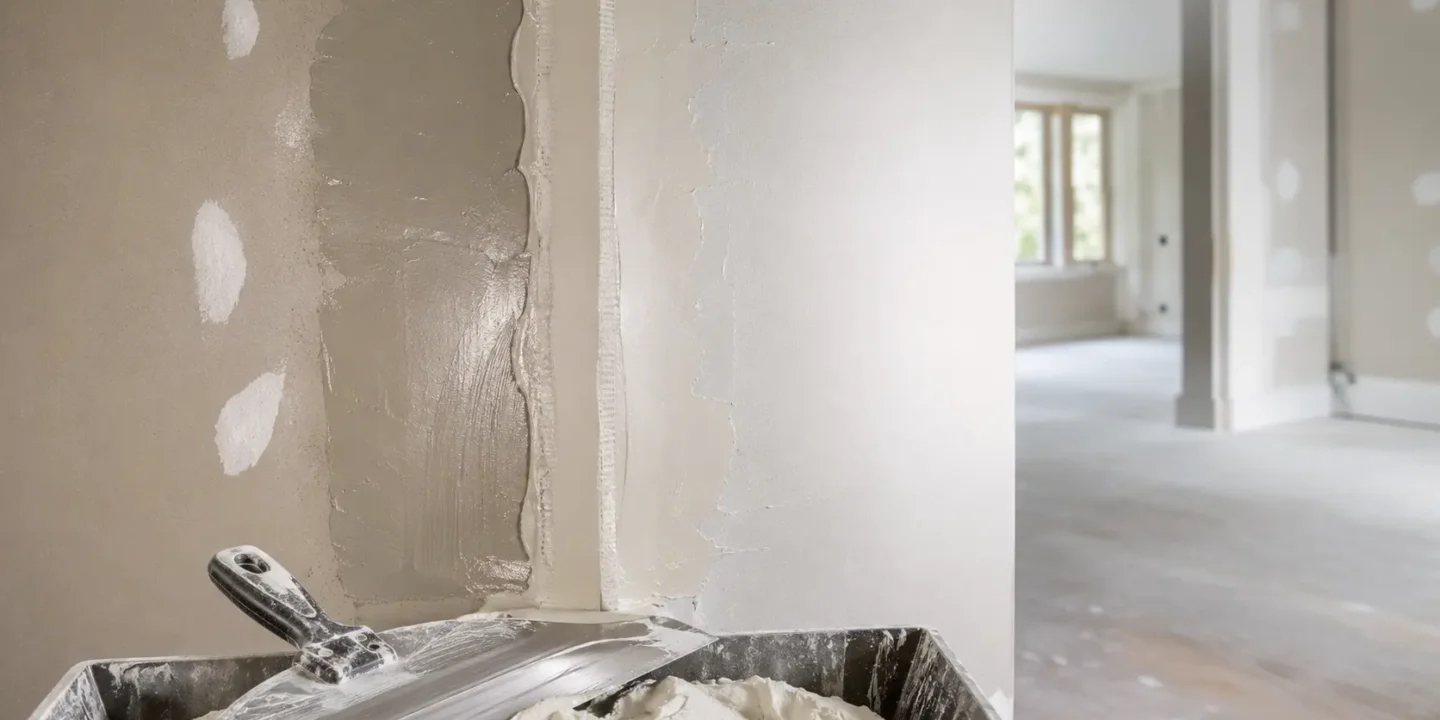

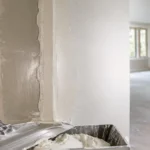
Most premixed drywall mud takes around 24 hours to dry under normal conditions. That’s the number you’ll see on buckets and in most guides, and it’s a reasonable starting point. The problem is that 24 hours is an average built around ideal conditions, and drywall projects rarely happen in ideal conditions.
The same joint compound can be ready to sand in 8 hours in a warm, well-ventilated room or still damp after 36 hours in a cold basement with no air movement. Thickness matters just as much as time. A thin skim coat and a heavy fill coat are completely different situations, and treating them the same way is where most drywall projects run into problems.
If you’re in the middle of a project trying to decide whether to move on, the clock is only one input. Conditions and appearance tell you more.
Key Takeaways
- Premixed drywall mud typically takes 24 hours to dry under normal conditions, but actual drying time depends heavily on thickness, humidity, temperature, and airflow.
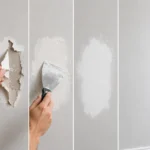
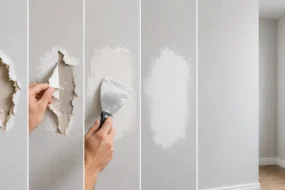
- Appearance is more reliable than a timer. Mud that has shifted from dark gray to a consistent bright white throughout is dry. Any remaining dark patches mean it’s not ready.
- Setting-type compounds dry through a chemical reaction rather than evaporation, which is why they harden in 20 to 90 minutes regardless of room conditions.
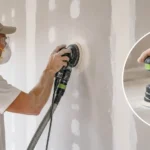
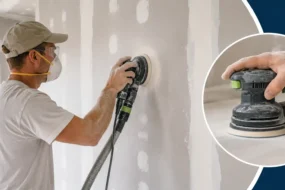
- Sanding too early is one of the most common drywall mistakes. Damp compound clogs sandpaper, tears unevenly, and produces a surface that looks rough even after it fully dries.
- Fans and dehumidifiers genuinely help speed drying. Direct heat alone without airflow is less effective and can cause surface cracking on thick coats.
How Long Drywall Mud Typically Takes to Dry
Drying time varies significantly based on what you’re applying and how much of it.
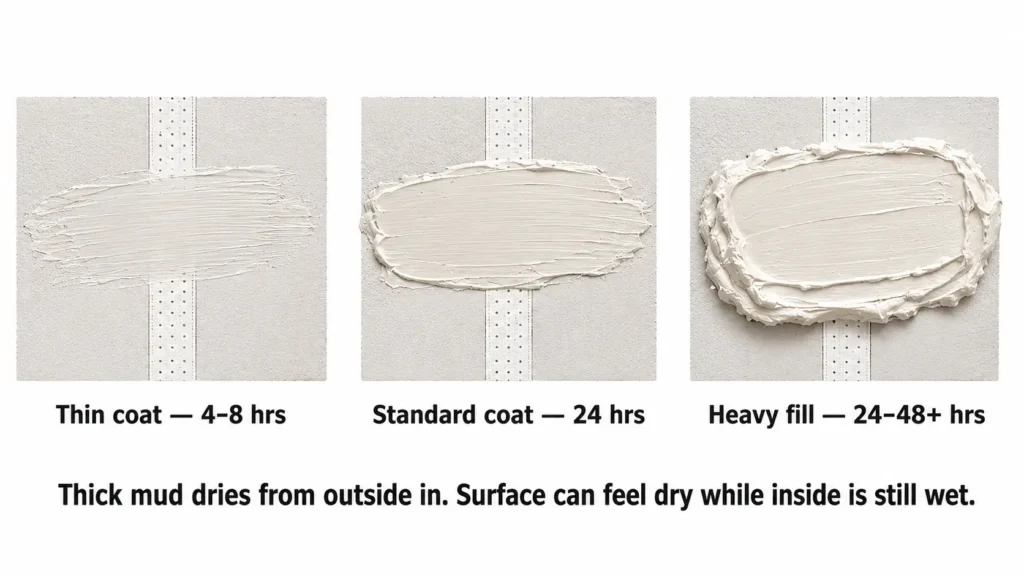
A thin skim coat, the kind used for final smoothing or level 5 finish work, can dry in 4 to 8 hours under good conditions. There’s very little water to evaporate, and thin layers release moisture quickly. These are the coats where impatience is most tempting and least dangerous, though even here you want to confirm it’s fully dry before sanding.
A standard tape coat or second fill coat, applied at normal working thickness, typically needs 16 to 24 hours. This is what most project timelines are built around.
Heavy fill coats over large voids, deep repairs, or areas where compound was applied thicker than usual can take 24 to 48 hours or longer. Thick compound dries from the outside in, so the surface can feel firm while the interior is still damp. This is where the clock is most misleading.
Large repairs in corners or built-up areas, where multiple layers of compound have been applied in quick succession, can take several days to dry completely through. These situations require patience that most project schedules don’t allow for, which is exactly why they produce the most problems.
Why Mud Doesn’t Dry at the Same Rate Everywhere
Standing in a room where one section of a wall looks dry and another still looks dark and damp is a common experience. It’s not random. Different areas dry at different rates for specific reasons.
Areas near windows, doorways, or vents receive more airflow and dry faster. Areas in corners, behind furniture, or in low-traffic zones get less air movement and hold moisture longer. A wall that faces an exterior in cold weather stays cooler than interior walls, which slows evaporation noticeably.
Compound applied over areas where the previous coat wasn’t fully dry takes longer because it’s releasing its own moisture into a surface that still contains moisture from below. This compounds the problem and can lead to sections that stay damp for days.
Ceiling mud almost always takes longer than wall mud. Warm air rises, which means the ceiling area of a room is typically more humid than the middle of the wall. That extra ambient moisture slows evaporation from the compound surface.
The Biggest Factors That Affect Drying Time
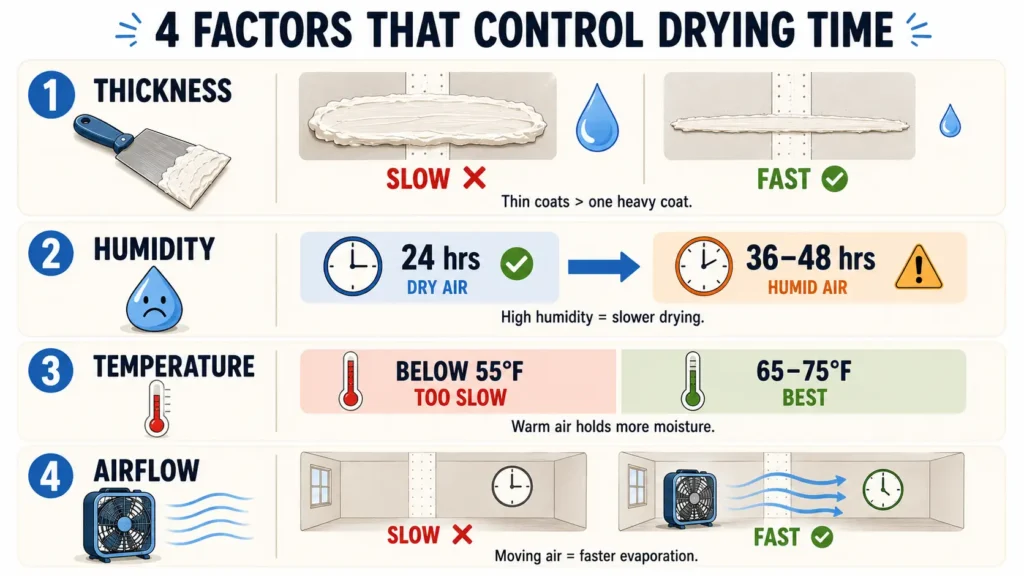
Thickness is the most important variable. Every extra millimeter of compound contains more water that has to evaporate before the coat is dry. Thin coats are always preferable to thick ones, not just for drying time but for adhesion and crack resistance. A single heavy coat takes longer to dry than two thinner coats applied with adequate drying time between them.
Humidity slows drying significantly. Drywall compound dries by evaporation, and high ambient humidity means the air around the compound is already carrying a lot of moisture and can’t absorb more as quickly. In humid climates or during rainy periods, 24-hour drying times often stretch to 36 or 48 hours for standard coats.
Temperature matters because warm air holds more moisture and evaporation happens faster in warm conditions. Compound applied in a cold room, particularly below 55 degrees Fahrenheit, dries very slowly and can develop adhesion problems. Most compound manufacturers specify a minimum application temperature for this reason.
Airflow removes the moisture-laden air from around the drying compound and replaces it with drier air, which accelerates evaporation. A room with no air movement dries much more slowly than one with a fan running, even if temperature and humidity are identical.
How Mud Type Affects Drying Time
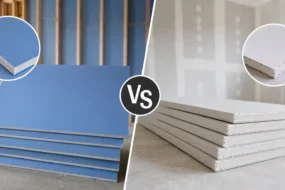
Not all drywall compound works the same way, and the type you’re using changes the drying equation entirely.
Standard all-purpose joint compound and lightweight compound both dry through evaporation. They need time, airflow, and reasonable humidity to release their water content. These are the products most DIYers use, and the 24-hour guideline applies to them.
Topping compound is formulated for final coats and tends to be thinner in consistency. It typically dries faster than all-purpose compound for the same application thickness, but the difference isn’t dramatic enough to significantly change your project timeline.
Setting-type compounds, often called hot mud, work completely differently. They harden through a chemical reaction rather than evaporation, which means they reach a workable hardness in 20 to 90 minutes depending on the product. The number on the bag, 20, 45, or 90, refers to how many minutes until the compound sets, not dries. Setting compounds are harder and less workable after they harden, but they’re invaluable for deep fills, first coats over tape, and any situation where you can’t wait 24 hours between coats. The tradeoff is that they’re harder to sand.
Understanding which type of compound you’re using is the starting point for any drying time conversation.
How to Tell When Drywall Mud Is Actually Dry
Color is the most reliable indicator. Fresh joint compound is gray or dark when wet and turns uniformly white or off-white as it dries. If any section of the compound still looks darker than the surrounding area, it contains moisture and isn’t ready.
This color check is more useful than a timer because it works regardless of conditions. A coat applied in a humid room may still be dark gray after 24 hours. A thin coat in a well-ventilated space may be bright white in 6 hours. The color tells you what the clock doesn’t.
Temperature is a secondary check. Wet compound feels slightly cool to the touch because evaporation draws heat from the surface. Dry compound feels room temperature. Running your hand across a suspect area and feeling a slight coolness confirms moisture is still present.
Surface firmness matters but is the least reliable of the three. Compound can feel firm on the surface while still containing moisture in thicker sections below. Rely on color first, temperature second, and firmness as a confirmation rather than a primary indicator.
What Happens If You Sand Too Early
Sanding compound that isn’t fully dry is one of the most common drywall mistakes, and the consequences last beyond just that coat.
Damp compound clogs sandpaper almost immediately. The wet material loads into the abrasive and stops cutting, which means you’re dragging spent sandpaper across a soft surface. The result is an uneven finish with torn areas and surface texture that doesn’t match the surrounding wall.
Torn or damaged damp compound doesn’t repair cleanly. Once the surface is disrupted while wet, it needs to dry fully before you can assess the actual damage and decide whether another skim coat is needed.
Sanding too early also tends to pull compound away from tape joints, which is particularly problematic on ceiling seams where the tape relies on compound adhesion to stay in place.
What Happens If You Apply Another Coat Too Soon
Applying a second coat over compound that hasn’t fully dried traps moisture between layers. The surface coat begins drying while the underlying coat remains wet, which creates a sealed layer that the trapped moisture can’t escape through easily.
The visible result is often surface cracking as the top coat dries and shrinks over a still-wet layer beneath it. Extended drying times are another consequence, because the trapped moisture has to work its way out through the edges of the repair rather than through the surface. In worst-case scenarios, trapped moisture causes the underlying coat to separate from the substrate, producing a hollow-sounding, soft section that fails when touched.
The only reliable way to avoid this is confirming each coat is fully dry before the next one goes on, regardless of what the clock says.
Can You Make Drywall Mud Dry Faster
Yes, within limits.
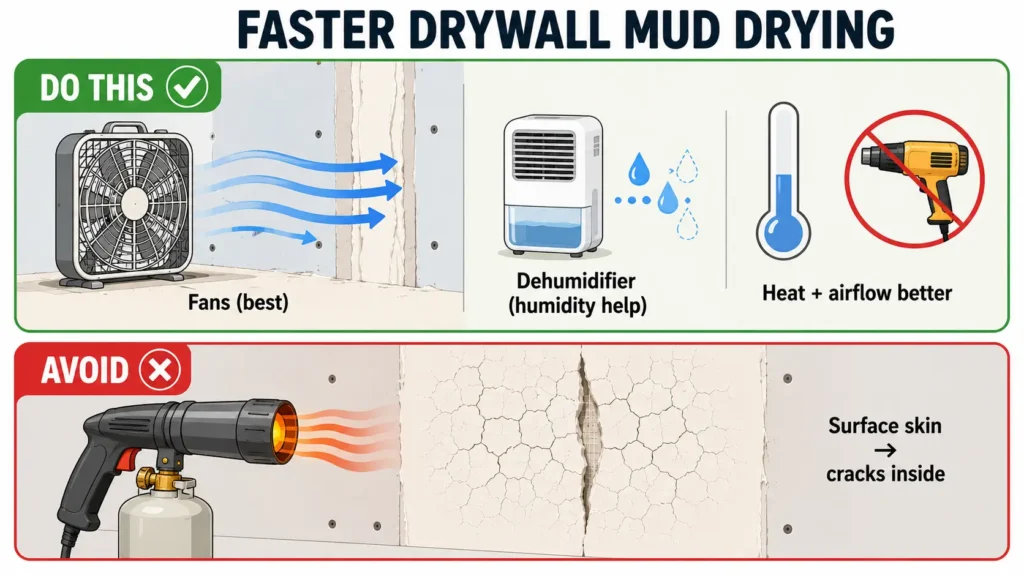
Fans are the single most effective tool for accelerating drying. A box fan pointed at freshly mudded walls moves moist air away from the compound surface and replaces it with drier air, which speeds evaporation significantly. Running fans consistently through a drying period can cut 24-hour drying times to 12 to 16 hours under good conditions.
Dehumidifiers help in humid environments by reducing the moisture content of the room air, which gives evaporating water from the compound somewhere to go. In a basement or during wet weather, a dehumidifier running alongside fans makes a noticeable difference.
Moderate heat helps but is less effective than airflow alone. Raising room temperature speeds evaporation, but if the air isn’t moving, humidity levels around the compound rise as moisture evaporates and the benefit diminishes. Heat combined with airflow works better than either alone.
Direct heat sources like heat guns or propane heaters pointed at wet compound cause problems. Surface drying without adequate through-drying produces a skin that cracks as the interior continues to shrink.
Drying Time vs Curing Time
These aren’t the same thing, and conflating them causes problems.
Dry enough to sand means the compound has released enough moisture that it won’t clog sandpaper or tear under light sanding pressure. Fully cured means the compound has reached its final hardness and stability, which takes longer than just being sandable.
For most DIY projects the distinction doesn’t change much. By the time you’ve applied multiple coats, sanded, primed, and painted, the compound has had adequate time to cure. The situation where it matters is when you’re trying to move very quickly through a project, applying a final coat, sanding the same day, and painting the next morning. Compound that passes the color and temperature check may be sandable but not fully cured, and paint applied over not-fully-cured compound can sometimes produce adhesion issues or slight surface softness.
Waiting an extra day before painting after the final sand costs nothing and eliminates that risk entirely.
When Slow Drying Is a Warning Sign
Most slow drying is explained by thick coats, high humidity, or poor ventilation, and the fix is patience plus airflow. But occasionally slow drying indicates something else.
Compound that’s still visibly wet after three or four days in a room with reasonable temperature and airflow suggests either an exceptionally thick application or a moisture source in the wall. If water is getting behind the drywall from a leak or condensation problem, compound over that area will stay damp indefinitely because new moisture keeps arriving from behind.
If a specific area consistently dries much more slowly than surrounding areas, and you’ve ruled out thickness as the cause, check for moisture sources before continuing to apply compound over it. Finishing over an active moisture problem produces repairs that fail repeatedly, and the right fix is addressing the moisture source before touching the wall again.

Elena Hart is the founder and lead writer of Better Home Pro. She writes about drywall, home repair, and practical DIY home improvement topics, focusing on clear, useful information that helps homeowners make better decisions. Her work combines firsthand experience, manufacturer documentation, industry resources, and careful research to create content that is accurate, practical, and easy to understand. Through Better Home Pro, Elena aims to simplify complex home improvement topics and provide guidance that is genuinely helpful to homeowners and DIYers.


No Comments